1 / 6 · Click to enlarge
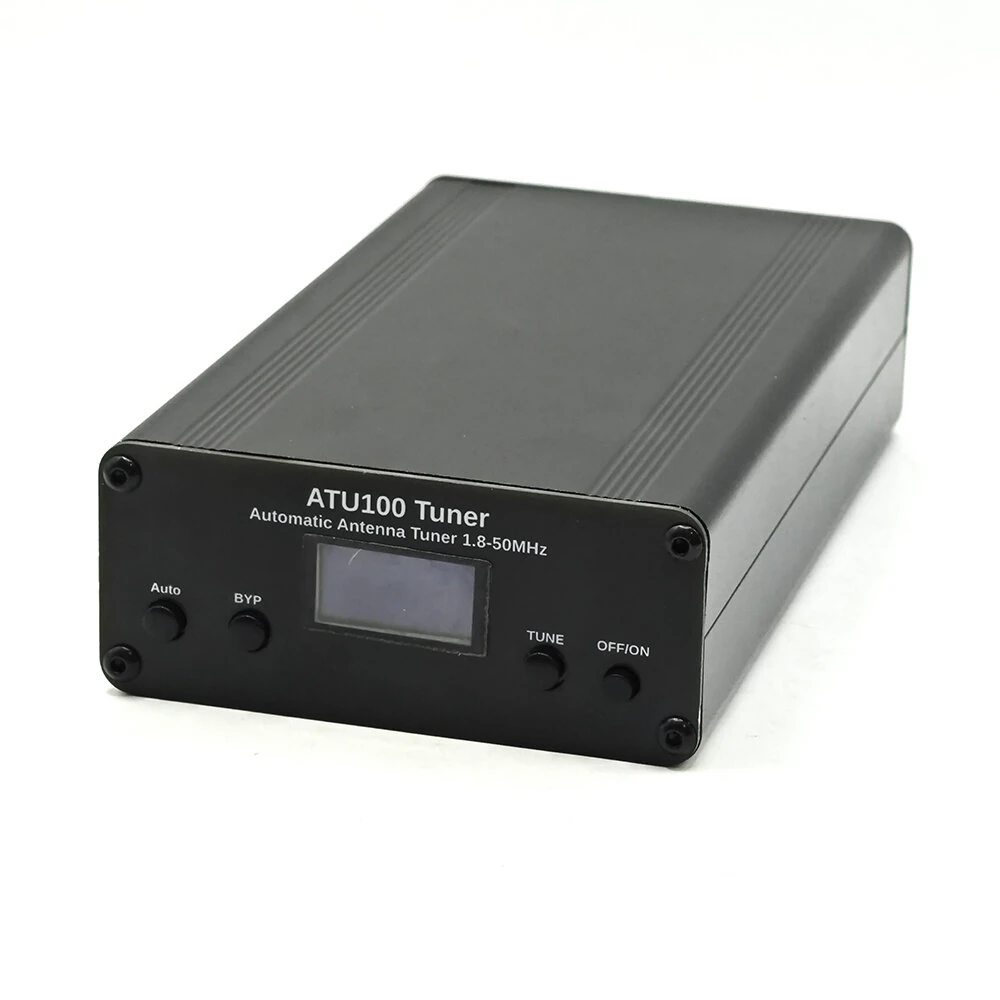
ATU-100 Automatic Antenna Tuner 100W HF Auto Antenna Tuner by N7DDC V3.2
5.03 ratingsThe ATU-100 Automatic Antenna Tuner 100W HF Auto Antenna Tuner by N7DDC V3.2 is a premium test & measuring module designed for premium buyers. Customers praise its fast and responsive.
Available Offers
Free Delivery on this order. No minimum order value.
15-Day Easy Returns — hassle-free return & full refund.
Secure Payment — 100% safe checkout with UPI, Cards & Net Banking.
Color: Black
Available Offers
5% Cashback
Pay with UPI & get 5% cashback (up to ₹50) via Razorpay
No-Cost EMI
Available on select bank cards at checkout. 0% interest for 3 months.
Free Shipping
Free delivery on all orders. No minimum order value.
Cash on Delivery
COD available on orders up to ₹5,000 across India.
Ideal For
About This Product
The ATU-100 Automatic Antenna Tuner 100W HF Auto Antenna Tuner by N7DDC V3.2 is a premium test & measuring module designed for premium buyers. Customers highlight its fast and responsive.
Why Buy from Pricio?
Pricio sources this product directly, cutting out multiple middlemen. Every order includes free shipping, a 15-day return policy, and secure payment via Razorpay.
- TYPE-C USB Charger: 5V
- Battery: Built-in 1800mah lithium battery
- Maximum Working Throughput: 100 watts
- Maximum Measured Power: 120 watts
- Minimum Power Required to Start Tuning: 5 watts
- Minimum Measured Power: 0.1 watts
- Measurement Step (Power up to 10 Watts): 0.1 Watt
- Measurement Step (Power above 10 Watts): 1 watt
- Power Measurement Accuracy: 10%
- Maximum Installed Inductance: 8.53 µH
- Minimum Inductance Installation Step: 0.05 μH
- Maximum Installed Capacity: 1869 pF
- Minimum Capacitance Installation Step: 10 pF
- Dimension: 18*10.5*7cm
- Weight: 500g
Features:
1. High Precision Measurement: The ATU-100 Automatic Antenna Tuner provides exceptional accuracy with a power measurement accuracy of 10%. Its sophisticated electronics ensure precise readings down to 0.1 watts.
2. Versatile Compatibility: With a maximum working throughput of 100 watts and the ability to start tuning with as little as 5 watts, this tuner is suitable for a wide range of amateur radio equipment.
3. Portable and Convenient: Featuring a built-in 1800mah lithium battery and a handy TYPE-C USB charger, this tuner is easy to transport and charge wherever you are, making it ideal for both field operations and home use.
4. Wide Range of Tuning: The ATU-100 covers a broad spectrum with a maximum installed inductance of 8.53 µH and maximum installed capacity of 1869 pF. Fine tuning is achievable with minimum installation steps of 0.05 μH for inductance and 10 pF for capacitance.
5. User-Friendly Interface: Designed for ease of use, the tuner offers clear measurement increments—0.1 watt steps up to 10 watts, and 1 watt steps above 10 watts—ensuring a user-friendly experience for operators of all levels.
Package Included:
1 x ATU-100 Tuner
1 x TYPE-C Cable