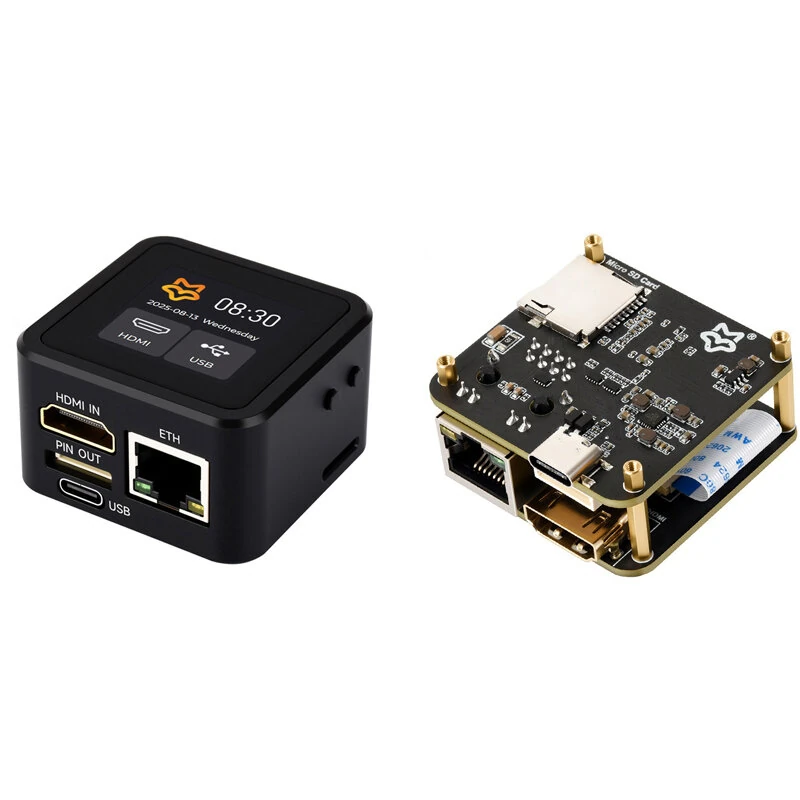
1 / 4 · Click to enlarge
Luckfox Core1106 RV1106G2 Smart 86 Box Development Board without wifi
The Luckfox Core1106 RV1106G2 Smart 86 Box Development Board without wifi by Luckfox is a premium iot development boards designed for premium buyers. It features Item Type: Development Board and Processor Type: ARM Cortex-A7.
Available Offers
Free Delivery on this order. No minimum order value.
15-Day Easy Returns — hassle-free return & full refund.
Secure Payment — 100% safe checkout with UPI, Cards & Net Banking.
Available Offers
5% Cashback
Pay with UPI & get 5% cashback (up to ₹50) via Razorpay
No-Cost EMI
Available on select bank cards at checkout. 0% interest for 3 months.
Free Shipping
Free delivery on all orders. No minimum order value.
Cash on Delivery
COD available on orders up to ₹5,000 across India.
Quick Specs
Ideal For
About This Product
The Luckfox Core1106 RV1106G2 Smart 86 Box Development Board without wifi by Luckfox is a premium iot development boards designed for premium buyers. It delivers reliable performance at an accessible price.
Key Specifications
- Item Type: Development Board
- Processor Type: ARM Cortex-A7 — smooth, lag-free performance
- Clock Frequency: 1200 — smooth, flicker-free operation
- Voltage Rating (V): 05 — works with standard household power
- CPU: Single-core ARM Cortex-A7 — smooth, lag-free performance
- Current (mA): 500–700
- Processor: Rockchip RV1106G2 — smooth, lag-free performance
- Operating Temperature (°C): -10 to 60
Why Buy from Pricio?
Pricio sources this product directly, cutting out multiple middlemen. Every order includes free shipping, a 15-day return policy, and secure payment via Razorpay.
The Luckfox Core1106 Smart 86 Box Development Board is a compact, powerful, and reliable embedded development platform designed for smart home control and industrial automation applications. Built on the RV1106G2/G3 processor with integrated NPU and ISP, it offers a robust compute capacity of up to 1TOPS. This board features a high-quality 720x720 IPS touchscreen with 5-point capacitive touch and supports RS485, dual relay output, and audio I/O, making it ideal for IoT interface, smart switches, and HMI projects. This version does not include WiFi/Bluetooth.
Features:
- Processor: RV1106G2 (0.5TOPS) / RV1106G3 (1TOPS), ARM Cortex-A7 core
- Memory: 128MB / 256MB DDR3L
- Display: 4" 720×720 IPS with 170° wide view and capacitive touch
- Communication: RS485 interface with built-in isolation
- Audio: Onboard mic and 1W speaker support
- Relay Control: 2-channel relay with optocoupler isolation
- Connectivity: 10/100M RJ45 Ethernet (wired only, no WiFi)
- Design: Modular 86-type wall box compatible structure